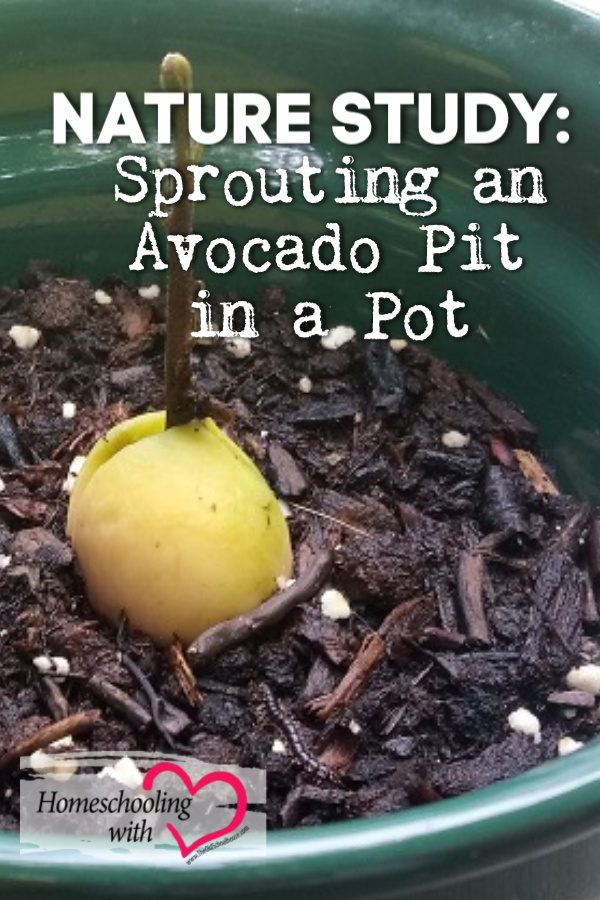
Nature Study: Sprouting an Avocado Pit in a Pot

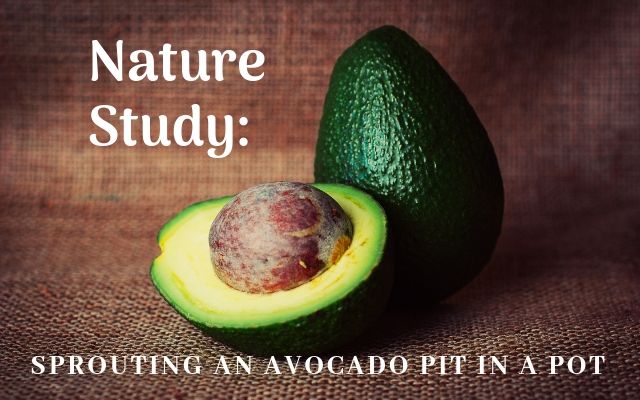
About two years ago, my children and I started an avocado tree by putting a pit in a jar with water, suspended with toothpicks. You can read about that here. We had tried sprouting avocado pits this way before, once with success (until my cat ate the plant). Most of the time, though, they would sit in the jar of water until they turned black and looked moldy.
We were finally able to grow a nice tree, which I keep as a houseplant. However, I did not prune it early enough in the growth process. It is now 2-1/2’ feet tall and not filling out. I decided we should try growing a new plant. I ended up starting my sweet potato slips indoors in dirt this year instead of in jars of water, so I wondered if I could grow an avocado tree the same way. It turns out that you can!
We began with five avocado pits. The more that you start with, the better odds you have of ending up with a plant. I washed the pits, leaving the brown outer skin intact. We used a 6” pot for each pit. I chose terracotta pots with holes in the bottom, as they tend to stay dry, and avocado plants do not like to sit in wet soil. We put stones in the bottom to help with drainage and placed them in a tray to catch any excess water. We filled the pots with high-quality potting soil and moistened it. Then, we gently pushed a pit into the dirt of each pot, leaving the top half above the soil. The bottom of the seed (where the root will emerge) is the broader end.
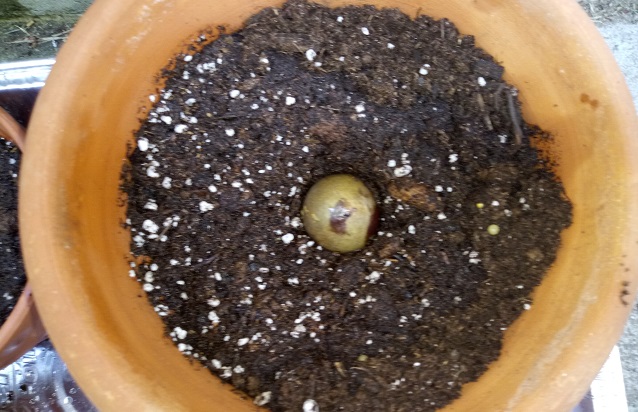
Because we were doing this in June, I left my pots on my front steps, where they could get plenty of sun. If you are starting yours at a time when the temperature will sometimes drop below 45°, though, you should put them on a windowsill indoors where they can get indirect sunlight. They do not like the cold! Water them when the soil feels dry to the touch, but be careful not to over-water.
The next step is patience – lots of it. It took a full six weeks for a shoot to emerge from one of my pits, and the others still haven’t done anything yet. I got a little preview that something was going on in that pot a week beforehand, though. There was a torrential rainstorm that washed most of the dirt out, leaving it upside-down with the root sticking up. We righted it, added some dry soil and it continued to grow.
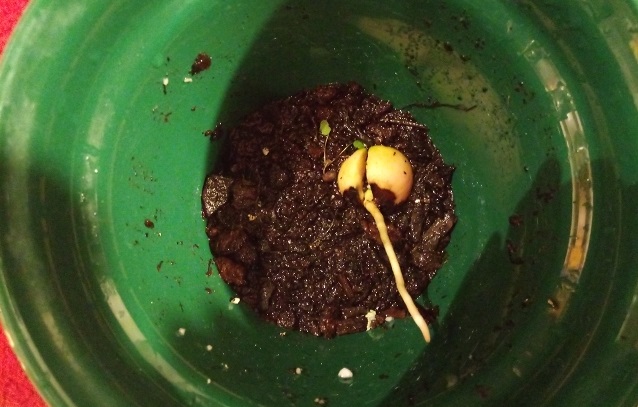
I will have to transplant it to a larger pot soon. Once the roots have reached 3 to 4” long, the seed should be moved to an 8 to 10” pot. It is recommended to fill the pot halfway with a 50/50 mixture of potting soil and peat moss, make a hole large enough for the roots to fit, then hold the seed in the center and fill in around the roots with soil, leaving the top half of the seed on the surface. Gently pat the soil in place and then moisten it until water runs out of the bottom of the pot.
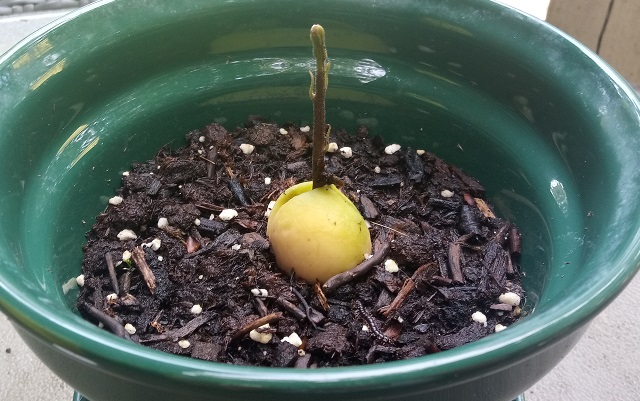
An important step that you do not want to miss is pruning. I know, because I made this mistake before. When your shoot reaches 6 to 8 inches high, remove half of the height to encourage it to branch out. When each branch reaches 8” long, pinch off the tip to encourage another round of branches. This way, you can have a full plant instead of a spindly one.
The downside of sprouting an avocado seed in soil is that what is going on underneath the soil is a mystery, as opposed to sprouting it in a jar of water, where you can see everything that is going on. Next time, I think it would be interesting to germinate some in soil and some in jars simultaneously. That way, my children can track their progress and compare the outcome of both methods.
My children always enjoy nature study projects and it is amazing what they retain when they are involved hands-on in the process. One of the benefits of homeschooling is being able to do as many of these projects as you desire. So, next time you cut open an avocado, don’t throw that seed away! Use it as a learning opportunity instead.
Heather Eberlin is a married mother of four children, ranging in age from seven to twenty-six. She is currently homeschooling her two youngest children and has felt called to share her journey in order to encourage others. She is an amateur gardener who is amazed at the things that God’s creation reveals when you take the time to pay attention to it. You can follow her at Musings from My Garden or download her free Homeschool Organizational Forms here.




What a fun nature study idea!