Nature Study: Starting Sweet Potato Slips with the Dirt Method


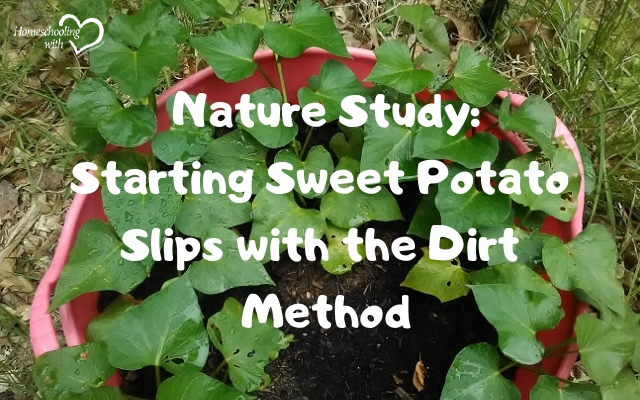
I like to start sweet potato slips this time of year, as a nature study project. Unlike many plants, which start from seeds, sweet potatoes grow new plants from eyes that emerge from the potato. When our last frost date passed in the spring, we transplant the slips to our garden and grow our own sweet potatoes. We have used the water method in the past, but this year we decided to try something different – the dirt method.
To start your own slips using the dirt method, follow these steps:
- Buy some organic sweet potatoes. Most conventional potatoes are treated with chemicals that prevent slips from growing.
- Get two disposable aluminum baking pans approximately 3 inches deep.
- Poke a couple of holes in each side of one of the pans for drainage.
- Place something small in each corner of the other pan (I used extra Play Doh lids) and put the pan with holes inside, on top of the lids. This gives extra moisture somewhere to escape.
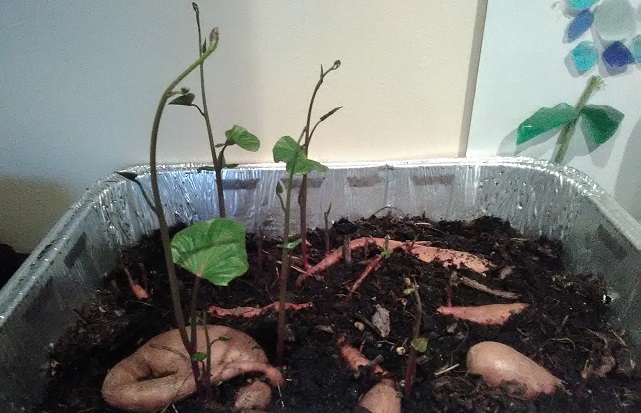
- Fill the pan halfway with potting soil and lay your sweet potatoes in the pan, covering them part of the way with soil, but leaving the top half exposed.
- Put your pan on top of a plant heating pad, keeping it in a spot where it will get either sunlight or direct artificial light during daytime hours.
- Keep the soil moist. In a few weeks, you should begin to see little shoots emerging from your sweet potatoes and in the soil around them. These are your slips.

Once your slips have reached at least six inches high, you can remove them from the potatoes. Grasp them as close to the base as possible and gently twist them one way and then the other until they come loose. Place them in a small jar of water, in a sunny spot, so they can grow roots. Make sure the water level is below where your leaves begin. When your slips have some nice, established roots, you can either plant them in your garden (if the threat of frost has passed) or plant them in a pot to keep indoors until it is safe to move them to your garden. The sweet potatoes in the pan should continue to produce new slips.
We keep a nature study journal during the process, and each Monday we take a photo of the progress and make observations. How long it takes them to grow will vary depending on the climate where you live. Once they have begun to emerge, we make daily observations when we water them.

If you prefer to try the water method or would like to know what to do with your slips once they are ready to plant, you can read instructions on that here. If you are doing this as a nature study project, you may only want to take it as far as watching the slips grow. It’s a fun process to watch, regardless of how you do it, and a hands-on learning experience.
Heather Eberlin is a married mother of four children, ranging in age from seven to twenty-six. She is currently homeschooling her two youngest children and has felt called to share her journey in order to encourage others. She is an amateur gardener who is amazed at the things that God’s creation reveals when you take the time to pay attention to it. You can follow her at Musings from My Garden or download her free Homeschool Organizational Forms here.


