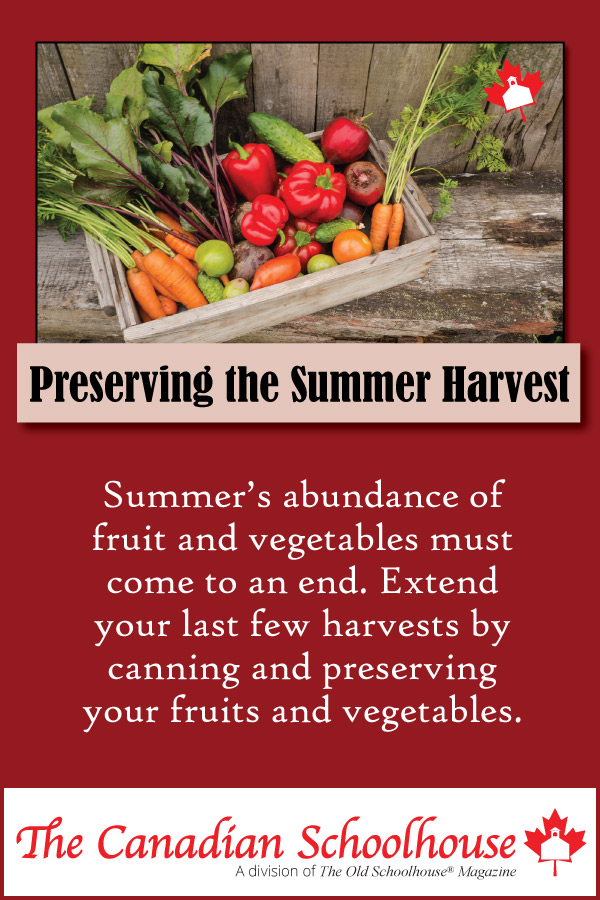
Summer’s abundance of fruit and vegetables must come to an end. Extend your last few harvests by canning and preserving your fruits and vegetables.
Preservation of harvests has been around for thousands of years. Our grandmother’s grandmothers more than likely preserved their harvests each year. These recipes have been passed from generation to generation. There are so many types of preservation (canning, jams, jellies, curing, drying, freezing, pickling, and more).
It is believed that preservation of food began almost by accident; our ancestors had to find a way to use nature to help keep their food available throughout the year. Using the ice to freeze food began in the northern areas, and sun drying food began in warmest areas of the world.
Sun curing and smoking may have been an accidental discovery as well. Cave men and Native Americans may have used this type of preservation unknowingly as they began experimenting with the way they cooked their meat. Salt was abundant in the Mediterranean, and because of this, it is possible natives to the areas began using salt to cure their food.
Canning, on the other hand, is a bit of a different story. It is said that Napoleon Bonaparte created a contest to see who could preserve food and keep the armies fed during war. Nicholas Appert won the competition, using the same process of boiling and sealing food in glass jars that we use today. Like his ancestors before him, he did not understand the reason for the way his experiment worked; it just did. It was 50 years later that Louis Pasteur discovered the reason for food spoilage.
Learn more about making food last longer with this Kiddle article, Food Preservation Facts for Kids.
For more mature learners (parents included) check out this article series from university professor Don Mercer on food technology and food processing.
There are many options and ways of preserving our food. From canning to curing, preserving our food is a matter of preference. One of the easiest methods of preservation is by fermentation.
Here is a great recipe for fermenting your harvested vegetables.
Fermented Vegetables
Ingredients
- 2 Tbsp sea salt
- 4 cups water
- 4 cups cut vegetables (green beans, radishes, cauliflower, etc. – anything you prefer mixed)
- 12 cloves garlic
- 1 Tbsp black peppercorns
- Optional - chilies, jalapenos, red pepper, etc. – to taste
Instructions
- Place chopped vegetables in a clean jar.
- Combine water and salt and stir to combine.
- Pour water/salt mixture over vegetables (leave at least 1” from the top) – add more water to cover the vegetables completely.
- Cover the jar tightly.
- Place your jar in a cool dark place for 3-4 days.
- Remove any mold or scum on top.
- Check for fermentation completion (bubbles visible, sour vinegar smell, tangy taste).
- Transfer the jar to the refrigerator.
This article has been written by homeschooling staff writers of The Canadian Schoolhouse (TCS). Enjoy more of our content from TCS contributors and staff writers by visiting our Front Door page that has content on our monthly theme and links to all our content sections.


